Domain Setup
Connecting your main domain
You can connect your root domain to BlogMaker without transferring the domain or moving its DNS to Cloudflare. The correct records depend on which company currently manages your DNS.
Root domain means the address without a subdomain, such as example.com. The www.example.com address is a separate DNS host.
1. Add the domain in BlogMaker
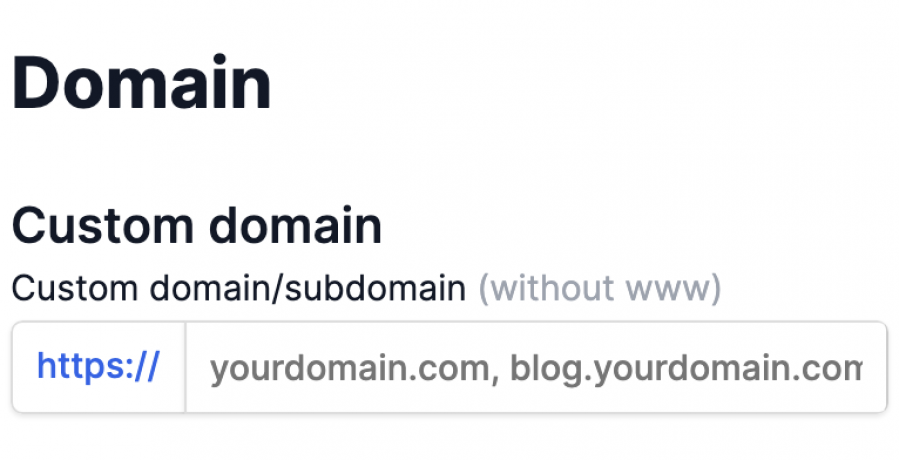
Open Settings > Domains and URLs > Custom domain or subdomain.
Enter the address without https://, a path, or a trailing slash. Most providers can use the root domain, such as example.com. If your DNS is managed by GoDaddy, use www.example.com and follow the GoDaddy steps below.
Save the address before changing DNS. BlogMaker provisions and renews SSL automatically.
2. Find where your DNS is managed
Your domain registrar and DNS provider are not always the same company. Edit the records wherever your domain's active nameservers are managed. If the DNS or host-record section is unavailable at your registrar, check the nameservers or contact the company shown there.
Important: protect email and verification records
Remove only old website records that conflict with the same @ or www host. Do not remove MX or TXT records used for email, SPF, DKIM, DMARC, or domain verification.
3. Add records for your DNS provider
Namecheap
These steps apply when the domain uses Namecheap BasicDNS, PremiumDNS, or FreeDNS.
- In Namecheap, open Domain List, select Manage, then open Advanced DNS.
- Under Host Records, add an ALIAS Record with Host @ and Value host.bstatic.io.
- Add a CNAME Record with Host www and Value host.bstatic.io.
- Use Automatic or the lowest available TTL, save the changes, and remove any conflicting parking, A, AAAA, CNAME, or URL Redirect record for the same @ or www host.
Namecheap uses an ALIAS at the root because a standard root CNAME is not allowed. See Namecheap's official ALIAS record instructions.
GoDaddy
Use www.example.com as your BlogMaker address:
- In BlogMaker, save www.example.com in the custom-domain field.
- In GoDaddy, open your Domain Portfolio, select the domain, and choose DNS.
- Add or edit a CNAME Record with Name www and Value host.bstatic.io.
- Keep the default TTL and remove any conflicting record for the same www host.
To make the bare example.com address work too, use GoDaddy domain forwarding to send it permanently to https://www.example.com. Always use host.bstatic.io for the DNS destination; do not enter a numeric IP address. See GoDaddy's official CNAME record instructions.
Cloudflare
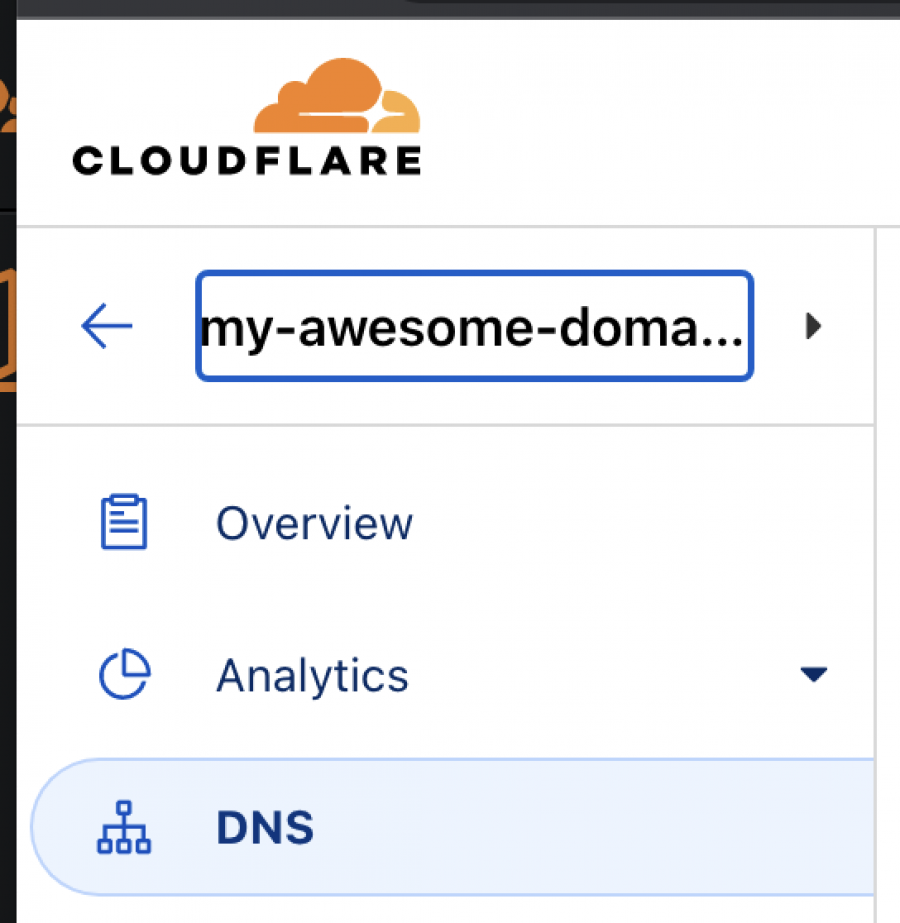
- Open the domain in Cloudflare and select DNS.
- Add a CNAME with Name @ and Target host.bstatic.io.
- Add a second CNAME with Name www and Target host.bstatic.io.
- Turn the Cloudflare proxy on for both records.
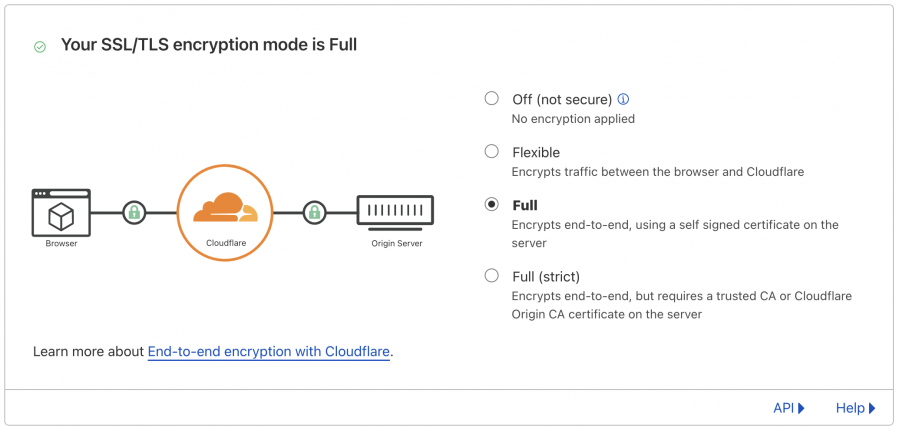
- Under SSL/TLS > Overview, select Full encryption mode.
For screenshots and more detail, see Setting up your domain in Cloudflare.
Other DNS providers
Look for the hostname-based record types available for the root or apex domain:
- If your provider supports ALIAS, ANAME, or a flattened root CNAME, point @ to host.bstatic.io.
- Create a CNAME for www pointing to host.bstatic.io.
- If the provider supports none of those apex record types, connect a subdomain or move DNS to a compatible provider.
Always use host.bstatic.io as the destination. Do not enter a numeric IP address.
4. Wait for DNS and SSL
DNS updates often appear within a few minutes, but some providers may take up to 48 hours to update globally. After the records reach BlogMaker, SSL is issued automatically; you do not need to buy or upload a certificate.
Troubleshooting checklist
- www opens but the browser cannot reach the root domain: the @ record is missing or incorrect.
- Neither address resolves: the records may have been added at the registrar while DNS is hosted somewhere else.
- A parking page appears: remove the old parking or forwarding record that conflicts with @ or www.
- DNS is correct but HTTPS still fails: contact BlogMaker Support with the exact domain so we can check the domain routing and SSL status.
Blogmaker